
by Latched Inc | Jan 25, 2022 | CBD Science
Worried about potentially failing a drug test at work because you don’t know how long Delta 8 lasts in your system? Relax. We got you covered. The stuff we prepared below will tell you more about the Delta 8 marijuana strain and all the fun things you want to know about it.
by Latched Inc | Jan 18, 2022 | CBD Science
When the raw cannabis plant goes through the extraction process, the desired constituents, i.e., cannabinoids, flavonoids, and terpenes, are obtained from the cannabis material. These components are then infused into a carrier oil, resulting in cannabis-derived products.

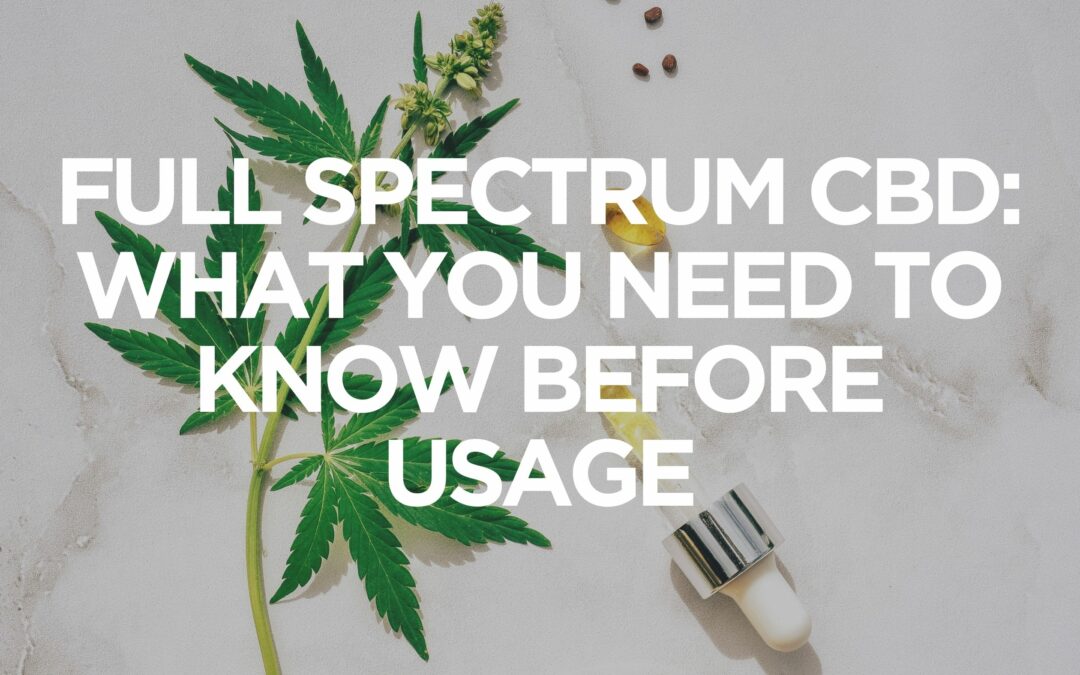
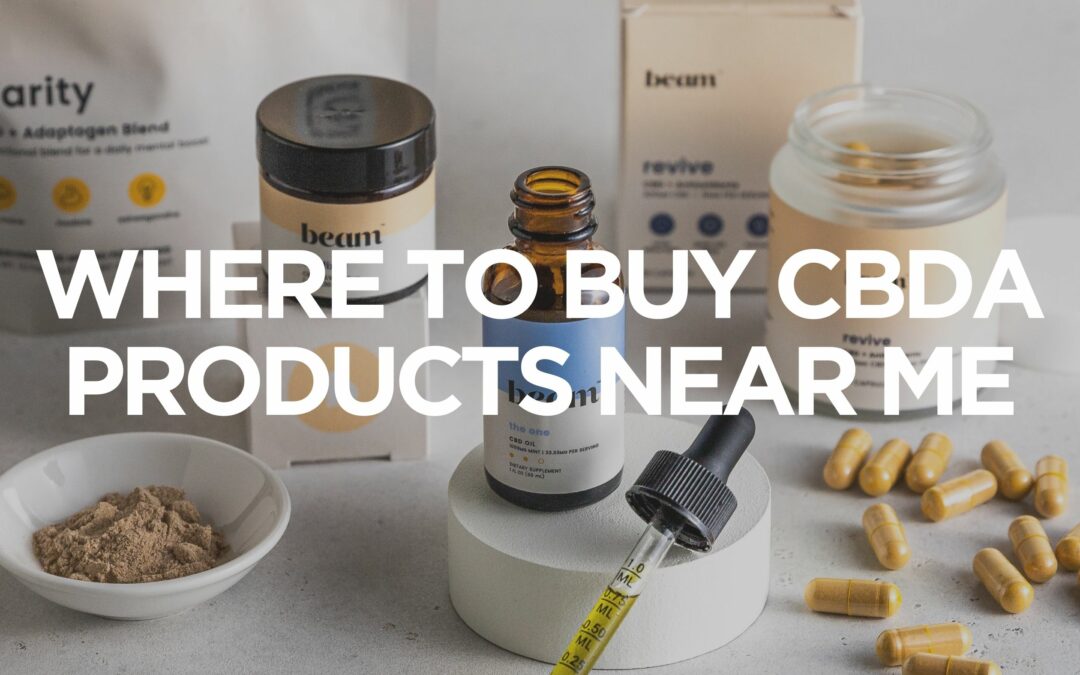
by Latched Inc | Jan 11, 2022 | CBD Science
Cannabidiolic acid (CBDA) is one of the multiple cannabinoids naturally produced by cannabis plants. CBDA, first isolated in 1996, is most commonly found in raw hemp and the marijuana plant.
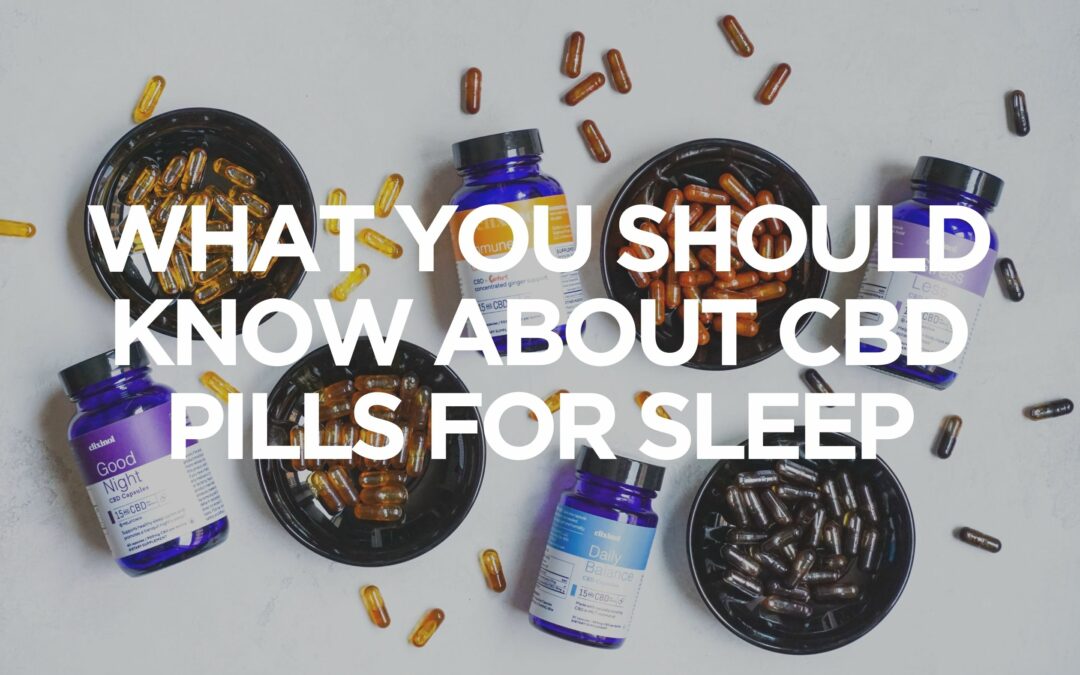
by Latched Inc | Jan 5, 2022 | CBD Science
Read this blog post to learn more about how you can use CBD pills to address your sleep issues. We discuss the benefits of using these supplements and why.
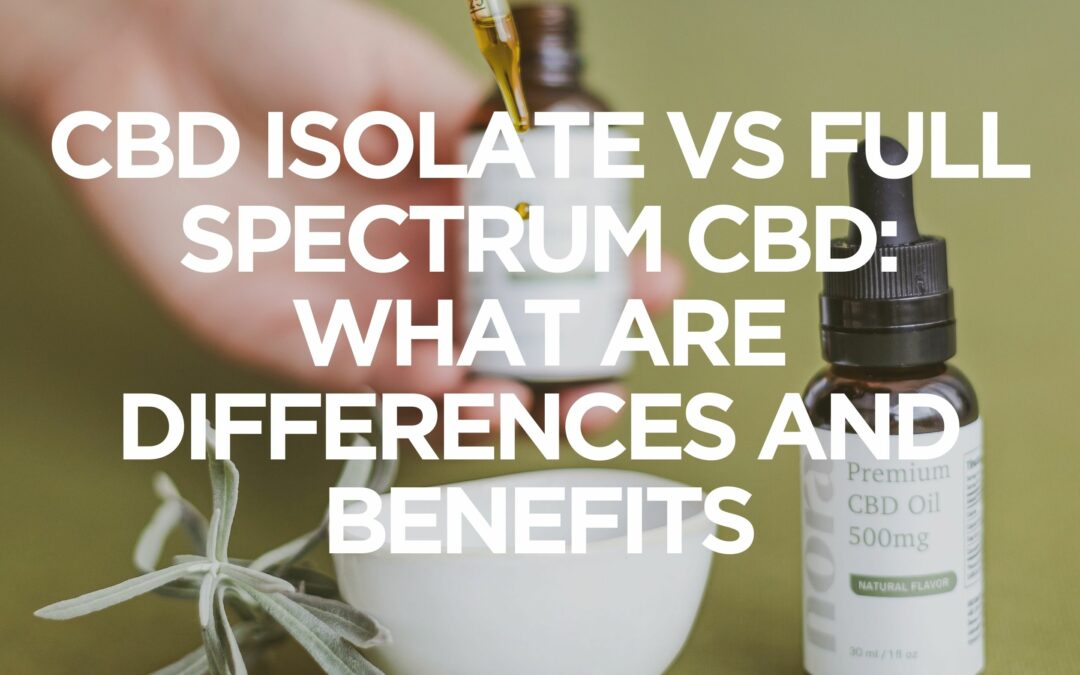
by Latched Inc | Dec 28, 2021 | CBD Science
You’ve probably come across CBD products labelled as “CBD isolate” or “full-spectrum CBD oil” that has left you perplexed. Simply put, cannabidiol (CBD) comes in three different forms. Among the various forms of CBD, isolate is the... 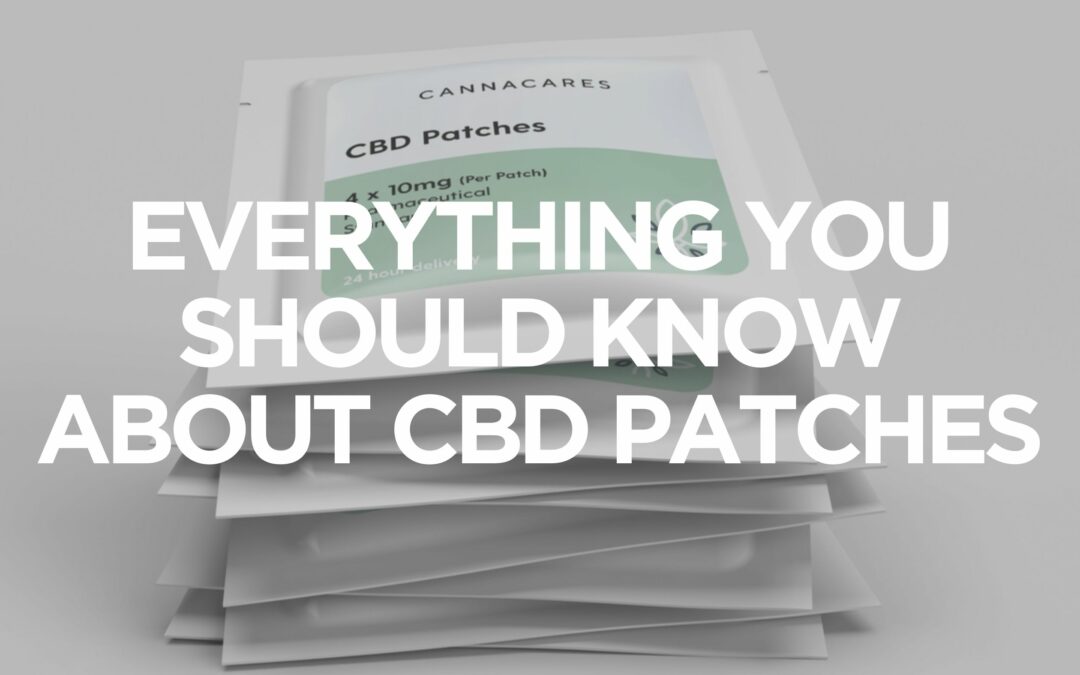
by Latched Inc | Dec 10, 2021 | CBD Science
Healing by using CBD products does not only come from the inside but also the outside. Do you believe so? The proof is the CBD patches that can be applied to the body where you experience some pain, swelling, or inflammation. This product has become popular among many consumers for nerve, muscle, and joint problems. And yes, the number keeps growing as the health and recreational use of cannabis has always been the focus of research and medical breakthroughs.
by Latched Inc | Dec 3, 2021 | CBD Science
Choosing one with high potency can net you impressive results for CBD products. Luckily, the CBD market is teeming with many selections to choose from. Buying CBD locally, however, is easier said than done. Despite their product claims, not every brand will give you the canna comfort you seek.

by Latched Inc | Dec 1, 2021 | CBD Science
It’s been a long day, and you’re ready to kick back, relax, and enjoy the evening. You reach for your stash of Delta-8 THC capsules to share with friends or use on your own.
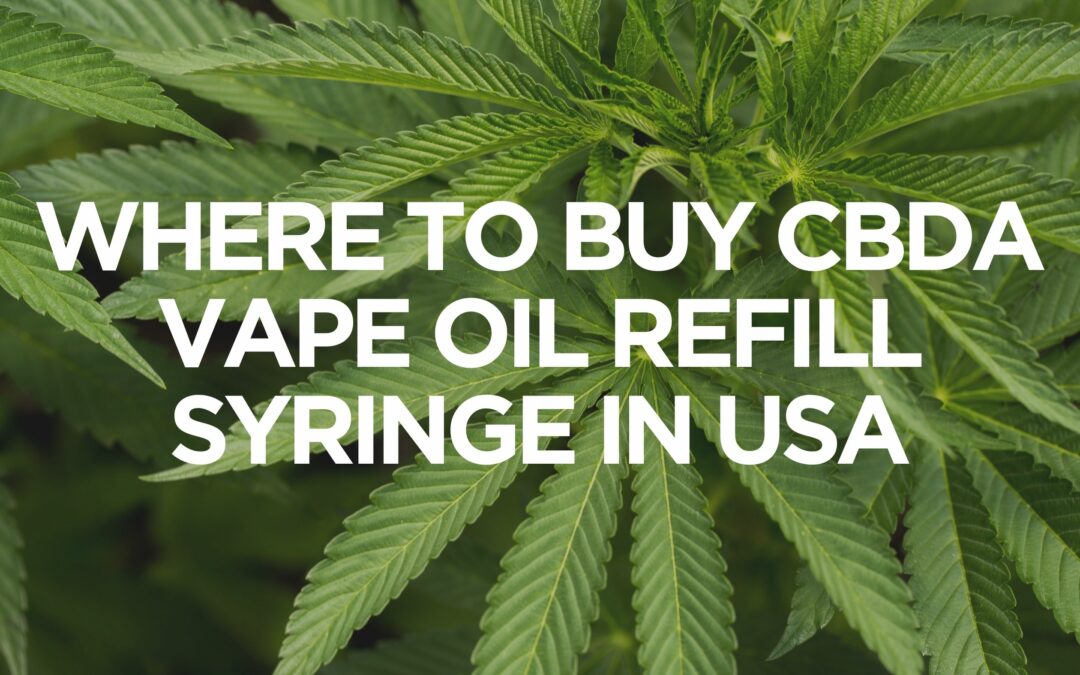
by Latched Inc | Dec 1, 2021 | CBD Science
In recent years and until today, vaping CBDA oil has become a common practice and trend among millions of teens and young adults worldwide. Suppose you delve into the reasons why you’ll be surprised that these consumers have proven the high relief and health benefits of the formulation. From stress, anxiety, depression, inflammation, psychosis, and nutrition to other numerous human concerns, the product is there to give some comfort and healing.
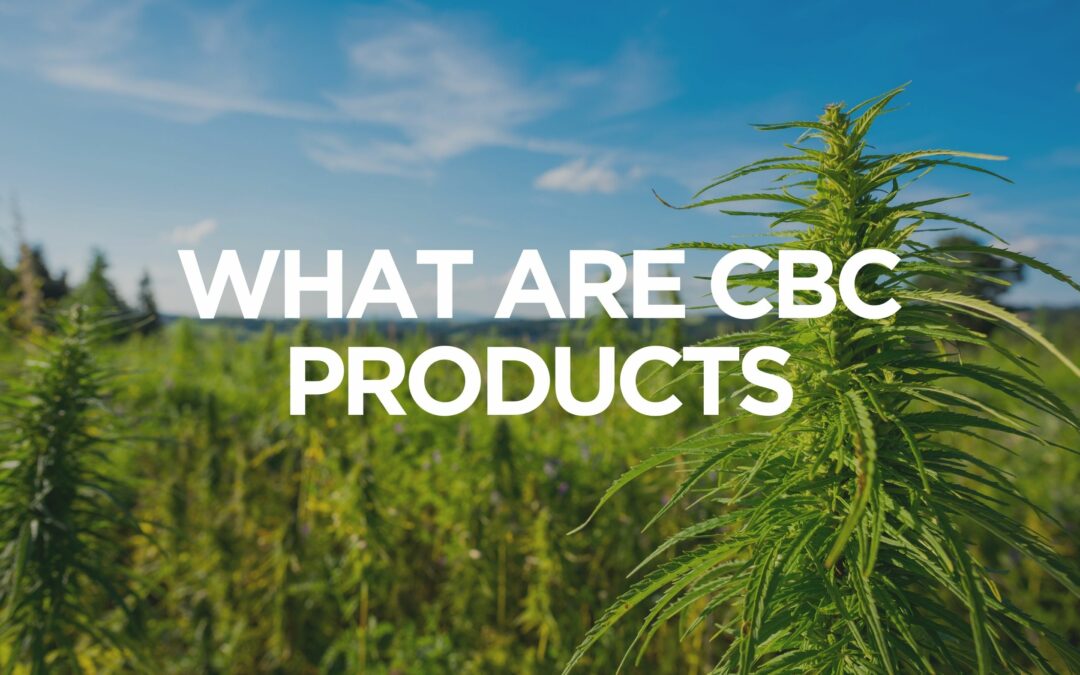
by Latched Inc | Nov 24, 2021 | CBD Science
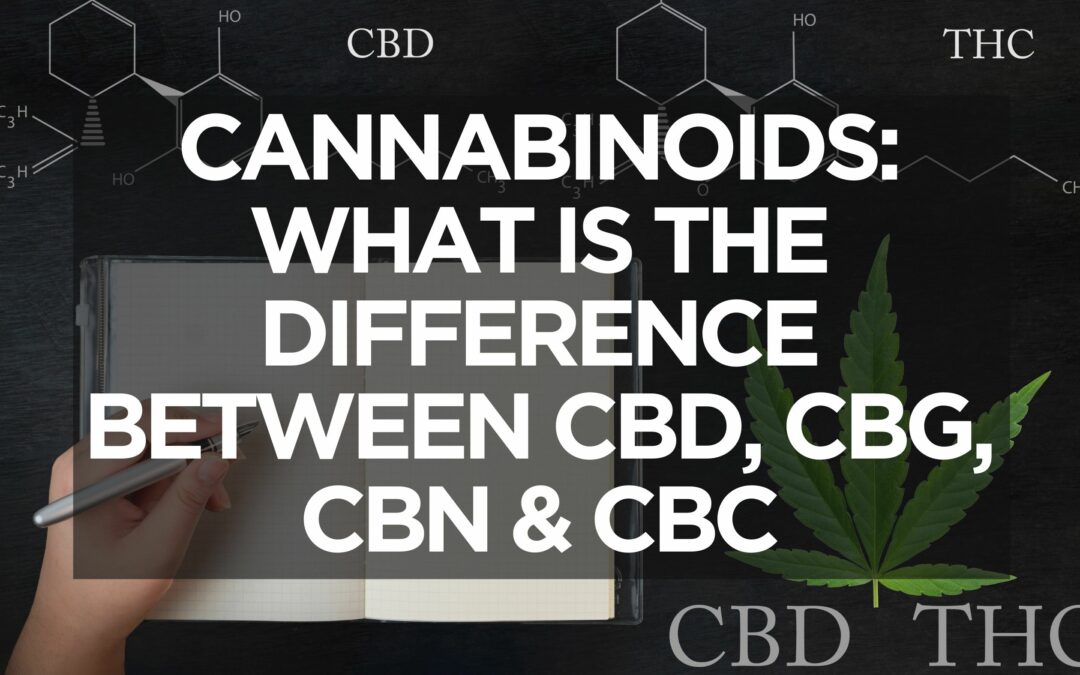
You have undoubtedly heard of two of the most common and medically essential compounds in the cannabis plant: THC and CBD. A closely comparable substance called CBC is becoming increasingly popular as a supplement.
by Latched Inc | Oct 22, 2021 | CBD Science
Cannabidiol, more commonly referred to as CBD, is only of the several hundred chemical compounds found within cannabis plants. More particularly, you’ll come to find it in the cannabis sativa plant.
by Latched Inc | Oct 19, 2021 | CBD Science
THC and CBD are the two most popular cannabinoids on the market. You may have noticed that there is an emergence of lesser-known cannabinoids tagging along with them. Ever since the 2018 Farm Bill legalized the cultivation of hemp and its derivative substances, many other cannabinoids became more prevalent.
by Latched Inc | Oct 13, 2021 | CBD Science
As you age, you may find yourself unable to get a good night’s slumber. You may toss and turn on your bed desperately trying to fall asleep but you find yourself staring at a blank space for hours.
by Latched Inc | Sep 30, 2021 | CBD Science
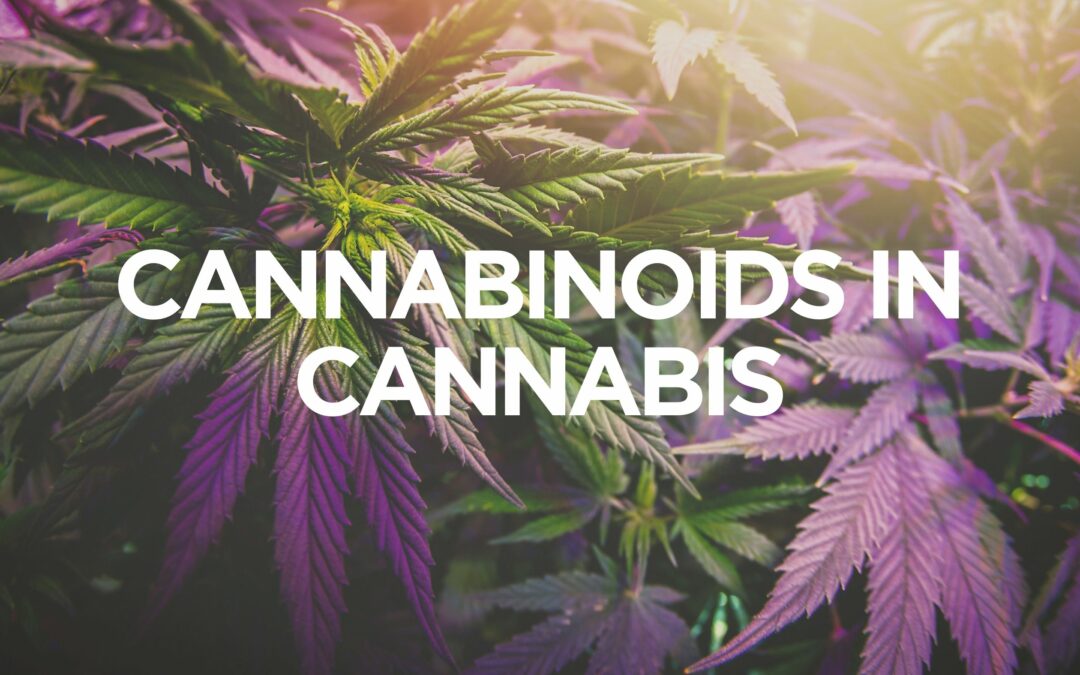
There are different compounds in the cannabis plant, and each of them plays a different role. Chlorophyll gives the leaves a green colour, while terpenes provide a rich aroma. However, the most crucial compounds that we are interested in are the cannabinoids in medical marijuana.
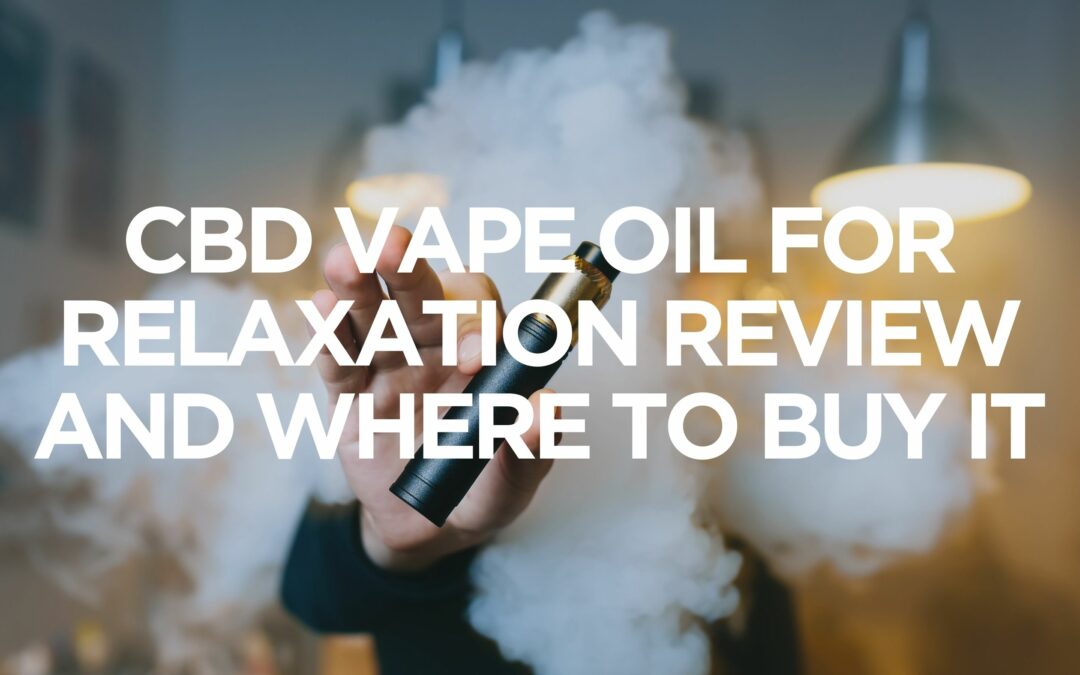
by Latched Inc | Sep 23, 2021 | CBD Science
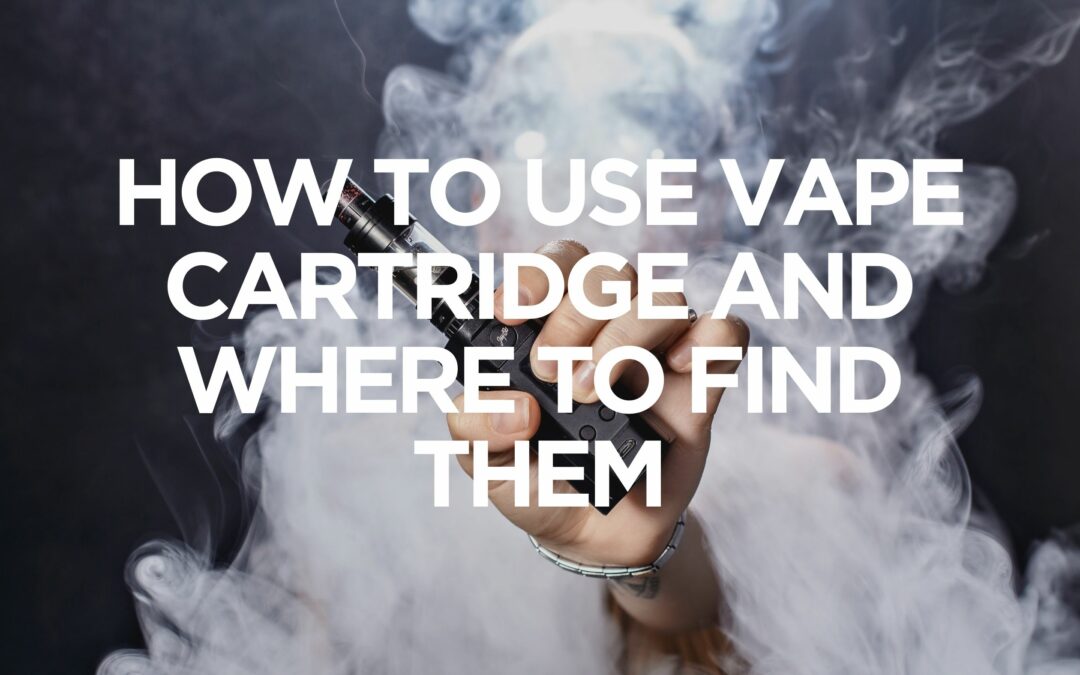
A vape cartridge is a disposable glass cartridge pre-filled with cannabis oil. You use it in conjunction with the vape pen, the cannabis equivalent of an e-cigarette. Vape pens were used to vape nicotine. Since cannabis became legal, they started to become associated with vaping pre-filled cannabis vape oil cartridges.